INSERT ALTERNATIVE TEXT FOR YOUR HEADER IMAGE HERE

Sunday, September 25, 2011

Wedding Card 2

So hopefully Mr. Blogger played nice and the first Wedding Card went up on the blog yesterday and you are reading the second one today!

My crafting Mojo was on overdrive when I made these cards and they just both fell into place.   This does not happen all the time, sometimes I takes a hike and can be found nowhere.

Card Front - Closed

Simple Flower embellished with cheap Cameo Earring


Indie of card opened up - money goes inside on left

Back of Card
My version of a Wedding Cake!
The card also fell into place, a simple idea and then embellished with Crate Paper Portrait collection (from Handmade  Hannah - go visit her fab boutique shop!!  I recently found a few packs of Cameo earrings and have been having fun adding them to my cards and LO's.

I hope you like this card - It is much nicer in real life! - Held closed with some velcro dots and has a fab texture to the paper.

Ta M

Saturday, September 24, 2011

Wedding Card - 1

I have been so busy in the background getting stuff ready for holidays and making those special wedding cards that family want to give the special Bride & Groom, Jen & Tim.

So, rather than look for ideas I decided to make 2  money wallet cards from my own imagination!!! (I spend far too much time with kids LOL!).

Anyway, it all started with a grab box from Hannah - inside this box was a sheet of paper die cuts from the Crate Paper Portrait Collection.  I was in love with them and asked Hannah to order me a pack of them and when they arrived I jumped right on them and started.

Front view
Rear view

Partly open

Fully Open

I am thrilled how this turned out and cannot wait to give it as a gift to them.  The money inside for illustrative purposes only, we bought them a fab gift!

Hope you liked this Money Card - I have another one to share with you tomorrow, this one made for my mum to give as  a gift to the happy couple.

Ta M

Saturday, September 10, 2011

Dinner Party details......

Last week we had planned to go out with friends, but I omitted to consult my DD's social calendar (yeh!) and she was going out so we had to stay in!!!  I did try for a babysitter, but in the end it just was easier to cook and have friends over.  So with very little time, I shopped for dinner, and bought some flowers, and when I had the cooking done, I set the table, going for a casual look, with some cottage styling.

The flowers matched my new table mats (from Meadows & Byrne) and new vase with wicker stand from Vobe Interiors in Carrick on Shannon (love love love this shop! - go visit Vanessa and say Hi! Michelle sent you!!!)  The table needed something else, so I ran to the craft room, grabbed the first patterned paper that looked right, some ink, hot glue gun and a Tim Holtz die, and made up these cute napkin holder decorations.  They took like 15 mins from start to finish and I just love them.  They are now in the drawer for use another day!

Not the Ritz, but the table looked lovely when it was all done!

Here is a little quick card I made for my FIL's Birthday!  Not good at making boy cards but this one turned out OK!

Right I have loads more to share!  So will add more during the week!
Ta M

Friday, September 9, 2011

Fascinating Fascinators.....

I was shocked to see how much a little head piece was when we went shopping last week.  OMG a really nice one we saw was 125.00 euro reduced to 79.00!  My mum needed one for the wedding we are going to and my aunt wanted my mum to get her one too.  So when we went to buy them they were going to cost  over 100.00 euro for 2 of them.

So I decided to have a go at making them..... I went to the suppliers and spent 30.00 on the stuff and with a glue gun and a bit of a mess here is what I made!!!

This first one is for my Aunt Winnie - listing it here so she can have a look at it and tell me if this is what she is looking for.  The colours are brown, black, and some copper and cream.


 This one is for my mum....  Taupe and a peach shade with cream.


I have so many crafty things at the moment that I have a list of stuff to do.  Off to my crafty day tomorrow so hope to make a huge dent in the list.

Ta M

Monday, September 5, 2011

Hate being late! (very photo heavy!!)

I am the most "On-Time" person in the world, Hate, Hate, Hate being late and it just killed me that I was so long getting this book to the blog today.  Shame on me that my life got in the way, but I did make great progress, then I had a few nights where I could not get to do any work on it and then with the  kids going back to school, a back to school party and Camera Club back on every week - this all contributed to less crafty time.
 Last week I recevied this fab kit from Handmade Hannah, and I loved it at first sight, kraft envelopes, Glassine envelopes, butterflies all my fav things!!!!  So inside the envelope was a piece of corrugated card to keep the envelope stiff during delivery, I chose to use this as the cover for the book and I stencilled the front using one of the decorative masks / die cuts from the kit!  I used one of my fav stamps "FAMILY" and it all started from there!

When I started I knew I wanted a book to keep all the photos from this summer - so that was my starting point.  I made a fan from some of the kraft card and used this as the binding for the book.


 Above is Page 1 & 2, I added some rubons to the Glassine envelope and because of the texture of the envelope they adhere so easily.  I also added a rubon to the acetate tag, again it went on like a dream. and I added some white paint to the edges. The Seam Binding was white so I coloured it with my pro-markers to match the colours of in the book.


 Love toothpick flags!!!
Glassine envelope with journalling tag inside for notes.
 Page 3 & 4 - simple designs but I added one of my sayings that I use on a daily basis! Remember to be Kind!
 Page 5 & 6 The butterfly was another die cut and I inked him up and added some backing paper to him and some pearl antenna's.  As the paper is so embellised already  I chose to keep Page 6 blank but I did use on of my Papertrey Ink dies on the edge.
 Page 7 & 8 - Bunting one of my fav things to add to a book, and I used the tags to form the next page with Glassine envelopes with rubons for holding notes and more photos if required.  Text reads Love (on the pin!) Lives Here.

Page 9 & 10 - Back of the Glassine envelope is another small envelope with more rubons and stickers. Page 10 is a very pretty page so left this blank and die cut the edges.

 Page 11 & 12 This page is very simple, just a die cut and butterfly and Page 12 has an Acetate Tag embellished with a white rubon (SISTERS) and I cut the Adore from a sheet of the paper and added some circles and lace.
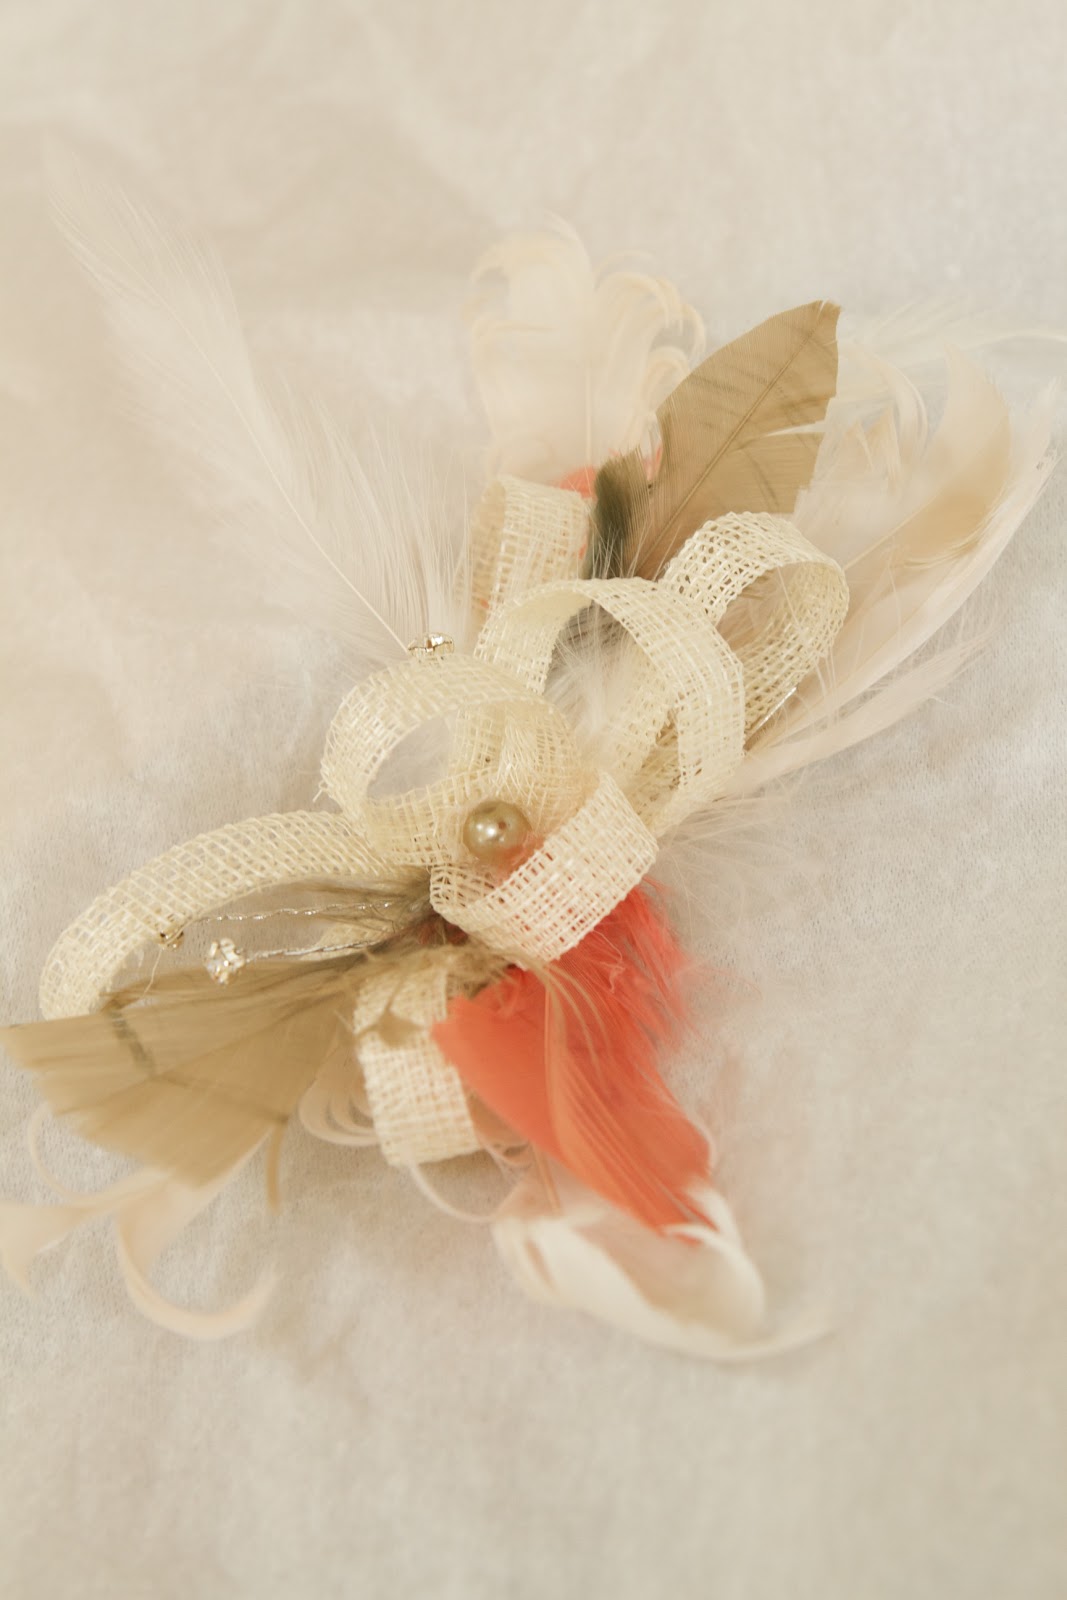
Page 13 & 14 Oh the Hessian tape - the first thing I did was stamp on it!, I just love the way it turned out and then I coloured part of the Die cut and added some backing paper and gems to make the flower cluster.  Page 14 is lovely on it's own, so left it for photos.
 Page 15 & 16 - Just a  small cluster of embellishments, and a pin and a piece cut from the acetate frames.  Page 16 is the last page and a lovely envelope for holding the tickets from the zoo and other bits that I want to keep in the book.

The book is blank as we are heading to Boston in about 2 weeks time for a special family wedding and a bit of a holiday. So when I come home I can finish this book by adding the photos, tickets, memorabilia and journalling from our holiday.  This summer has been very quiet as we did not get away and Lea had been so sick for nearly 2 weeks, and Shannon was in camp for most of July.

Hope you like my interpretation of the kit - loved looking at all the books and seeing how everyone made it their own.  Head on over to Hannah's web shop and have a look around and see what lovely stuff she has!  Handpicked stash with her lovely taste!